Optimizing Your Drone Flight Path for Crisp Aerial Video

This guide breaks down the technical mechanics of drone flight paths to help you achieve smooth, professional-grade aerial footage. You'll learn how to manage velocity, altitude-to-subject ratios, and camera gimbal movements to avoid the jittery, amateur look common in consumer-grade flight patterns. We'll look at the physics of motion and how to translate waypoints into cinematic data.
How Do You Achieve Smooth Cinematic Motion?
Smooth cinematic motion comes from maintaining a constant velocity and a consistent relationship between the drone's speed and its altitude. Most beginners make the mistake of "stutter-stepping"—changing speeds mid-flight—which creates a jerky visual experience. To get that buttery look, you need to treat the drone like a heavy camera dolly rather than a remote-controlled toy.
The first step is understanding the Rule of Constant Velocity. If you're flying a DJI Mavic 3 or an Autel EVO II, your stick inputs shouldn't be jerky. Instead of "tapping" the sticks, you should use smooth, sweeping arcs. Think of it like driving a car; you don't slam the gas and then hit the brakes every ten seconds. You want a gradual acceleration and a gradual deceleration.
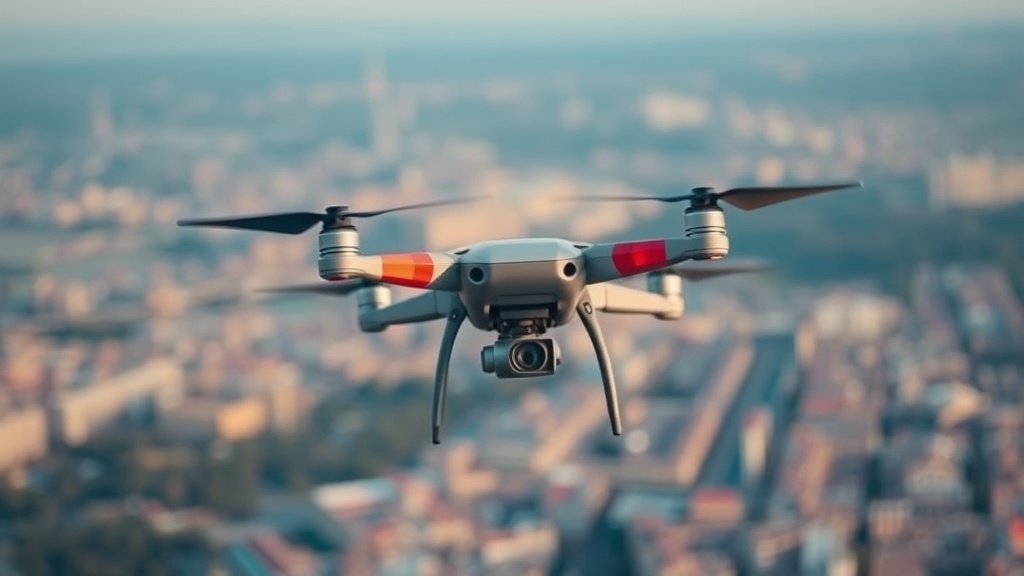
Altitude is your best friend here. A common mistake is flying too low to the subject, which makes the movement feel frantic. If you're flying a low-altitude path through a forest, any slight gust of wind will look like a massive jolt in your footage. I've seen too many people lose a perfectly good shot because they were chasing the ground too closely.
Keep your altitude at least 3x the distance from your subject to maintain a sense of scale. This provides a buffer for the drone's onboard stabilization systems to work effectively. It also gives you a wider field of view, which makes the motion feel more intentional and less like a mistake.
If you find your footage is still vibrating despite smooth stick movements, you might be dealing with high-frequency jitter. This often happens when the drone is fighting wind resistance or when the internal SD card speed can't keep up with the bitrate. If you're seeing micro-stutters, check out our previous breakdown on why your action camera footage looks choppy to see if your hardware is the bottleneck.
The Three Pillars of Flight Path Geometry
When planning a shot, don't just "fly around." You need a geometric plan. Most professional shots fall into one of three categories:
- The Orbit: Circling a central subject while keeping the gimbal locked on a single point. This requires constant yaw adjustment.
- The Reveal: Starting low behind an obstacle (like a ridge or a tree) and rising upward to show the horizon.
- The Push-In/Pull-Out: Moving directly toward or away from a subject to create a sense of depth.
What Is the Best Way to Plan a Flight Path?
The best way to plan a flight path is to use a pre-flight waypoint software or a detailed physical map to visualize your lines before you even power on the motors.
I've spent years looking at topographical maps for SAR operations, and the same logic applies to drone cinematography. You shouldn't just "wing it" in the field. If you're flying in a canyon or a mountainous area, the wind patterns are predictable but dangerous. A path that looks clear on your screen might be a death trap in reality due to updrafts or downdrafts.
Here is a quick comparison of flight path types and their ideal use cases:
| Path Type | Primary Motion | Difficulty Level | Best Use Case |
|---|---|---|---|
| Orbit | Yaw + Roll | Medium | Highlighting a singular object (lighthouse, peak, etc.) |
| Linear Tracking | Pitch/Roll | Low | Following a vehicle or a moving subject |
| Parallax (Side-to-Side) | Roll + Yaw | High | Creating depth between foreground and background |
| Vertical Rise | Throttle/Altitude | Low | Revealing a landscape or horizon |
When you're planning, always consider the "Return to Home" (RTH) altitude. If you're flying a complex path through a valley, ensure your RTH height is set higher than the highest obstacle in your path. There is nothing worse than a drone attempting to return home and hitting a ridge because you didn't account for the local topography. You can find more about technical environmental data via NOAA to understand how weather patterns might affect your specific flight area.
How Much Does Flight Planning Software Cost?
The cost of flight planning software varies wildly, ranging from free mobile apps to expensive enterprise-level subscription models.
For most hobbyists and even many professionals, you don't need to spend a dime on advanced planning software. The basic waypoints available in the DJI Fly app or the Autel Sky app are more than enough for 90% of cinematic shots. These built-in tools allow you to set points in space and let the drone handle the math of the movement.
However, if you're doing heavy-duty mapping or high-end production, you might look into tools like Litchi or UgCS. These tools allow for much more granular control over the drone's attitude—meaning you can control the pitch, roll, and yaw independently of the flight path.
Here's the breakdown of what you're actually paying for in higher-end software:
- Basic Waypoints: Included with your drone. Good for simple, repetitive paths.
- Advanced Mission Planning: Usually requires a subscription. Allows for complex 3D obstacle avoidance and custom camera angles.
- Enterprise Mapping: Very expensive. Used for photogrammetry and professional-grade surveying.
If you're just starting out, stick to the free tools. Over-complicating your path with complex software often leads to "over-filming," where the movement is so complex that the viewer loses track of the subject. Simplicity usually wins in the edit.
One thing to remember: the more complex the path, the more battery you'll consume. A constant orbiting motion requires constant motor adjustments, which is much more taxing on your LiPo batteries than a straight-line flight. If you're flying a heavy rig like a DJI Inspire, keep an eye on your voltage drops during high-torque maneuvers.
Don't forget to check your local regulations before you fly. The FAA provides clear guidelines on where and how you can operate Unmanned Aircraft Systems. Ignoring these isn't just a fine risk; it's a way to get your hobby shut down entirely.
When the wind picks up, your flight path will change. A path that was a perfect circle in calm air becomes a jagged, wobbling mess in a 15-knot gust. If you see your drone struggling to maintain its position, don't try to "fight" the path. It's better to have a slightly imperfect shot than a shot that looks like it was filmed during an earthquake.