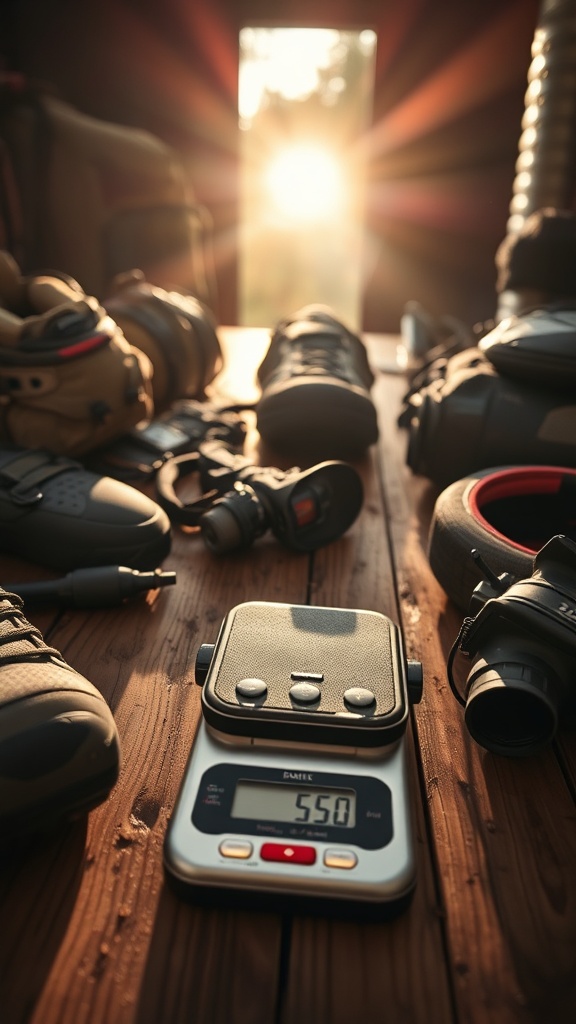
5 Must‑Have Gear Maintenance Tools for Trail‑Ready Hikers

Multi‑Tool with Needle‑Nose Pliers
Rugged multi‑tool that includes pliers, knife, and screwdriver for on‑the‑fly repairs.
Heavy‑Duty Thread & Silicone‑Coated Needle
UV‑resistant thread and needle for stitching torn webbing in the field.
Waterproof Gorilla™ Tape
2‑inch tape that adheres to wet surfaces and survives sub‑zero temperatures.
Quick‑Set Epoxy Putty
Fast‑curing putty that restores broken plastic or metal components.
Compact Spare Parts Kit
Assortment of webbing strips, buckles, and pole‑cap screws stored in a dry‑bag.
Why a Dedicated Maintenance Kit Beats Ad‑Hoc Fixes
When a strap snaps or a buckle fails miles from civilization, the difference between a quick fix and a stranded night is the tools you’ve got in your pack. I’ve logged hundreds of miles on broken gear, and the pattern is clear: a lean, purpose‑built maintenance kit saves you time, money, and miles per dollar. Below are the five tools I consider non‑negotiable for any serious hiker.
1. Multi‑Tool with Needle‑Nose Pliers
A solid multi‑tool gives you a knife, screwdriver, can‑opener, and most importantly, needle‑nose pliers for gripping tight buckles or pulling broken webbing. I recommend the Leatherman Wave 02 — it’s rugged, replaceable, and under 200 g.
2. Heavy‑Duty Thread & Silicone‑Coated Needle
Repairing torn webbing or stitching a broken seam on the fly requires a strong thread that won’t melt in the sun. Polyester‑bonded, UV‑resistant thread paired with a silicone‑coated needle slides through tough fabrics without snagging. I keep a small spool of Paracord‑type thread in my kit.
3. Waterproof Gorilla™ Tape
For emergency patches on backpacks, tents, or even shoe soles, a roll of 2‑inch waterproof Gorilla tape is a lifesaver. It adheres to wet surfaces and holds up to sub‑zero temps. Keep a 10 cm strip in a zip‑tied pouch for quick access.
4. Quick‑Set Epoxy Putty
When a plastic clip cracks or a metal eyelet bends, epoxy putty fills the gap and restores structural integrity. I use JB Epoxy Putty, which sets in under five minutes and remains flexible after curing.
5. Compact Spare Parts Kit
Identify the three most common failure points on your gear and bring spares: extra webbing (10 cm strips), replacement buckles, and pole‑cap screws. Store them in a waterproof dry‑bag — the same bag I use for my 5‑Minute Backpack Frame Stress Test kit.
Pro Tips to Keep Your Kit Light and Effective
- Trim the weight. Only pack what you’ve tested on a short hike. Anything you can’t replace in under a minute belongs in the car.
- Organize by system. Use zip‑tied pouches labeled “Backpack,” “Footwear,” and “Climbing” to find the right tool without digging.
- Practice the fixes. Spend a weekend repairing a broken trekking pole (example here) so you know the steps when you’re on the trail.
Common Mistakes and How to Avoid Them
- Overpacking cheap, bulky kits. They add unnecessary weight and often contain low‑quality tools that fail when you need them.
- Skipping the log. I keep a tiny “Repair Log” in my pack. Without data you can’t calculate true cost‑per‑mile and improve the kit.
- Using the wrong adhesive. Cheap glues melt in heat. Stick to epoxy or marine‑grade tape for reliable bonds.
Takeaway
Gear failures are inevitable, but the miles they cost you are not. A focused maintenance kit—multi‑tool, thread, tape, epoxy, and spares—keeps you moving, saves dollars, and lets you log fewer “broken‑gear” miles. Pack light, test often, and log every fix. Your future self will thank you on the next summit.
FAQs
What weight does a minimal maintenance kit add?
About 200–250 g when packed in a 2‑liter dry‑bag.
Can I replace the multi‑tool with a cheaper option?
Yes, but ensure it has needle‑nose pliers and a sturdy knife; cheap tools often break under load.
How often should I replenish my spares?
Inspect after every 150–200 miles or after any major repair; replace worn pieces immediately.